Isn’t your heating boiler producing hot water as efficiently as you want? Install hot water to fix the problem, and here are the guidelines to follow.
How to Add a Hot Water Heater to a Boiler?
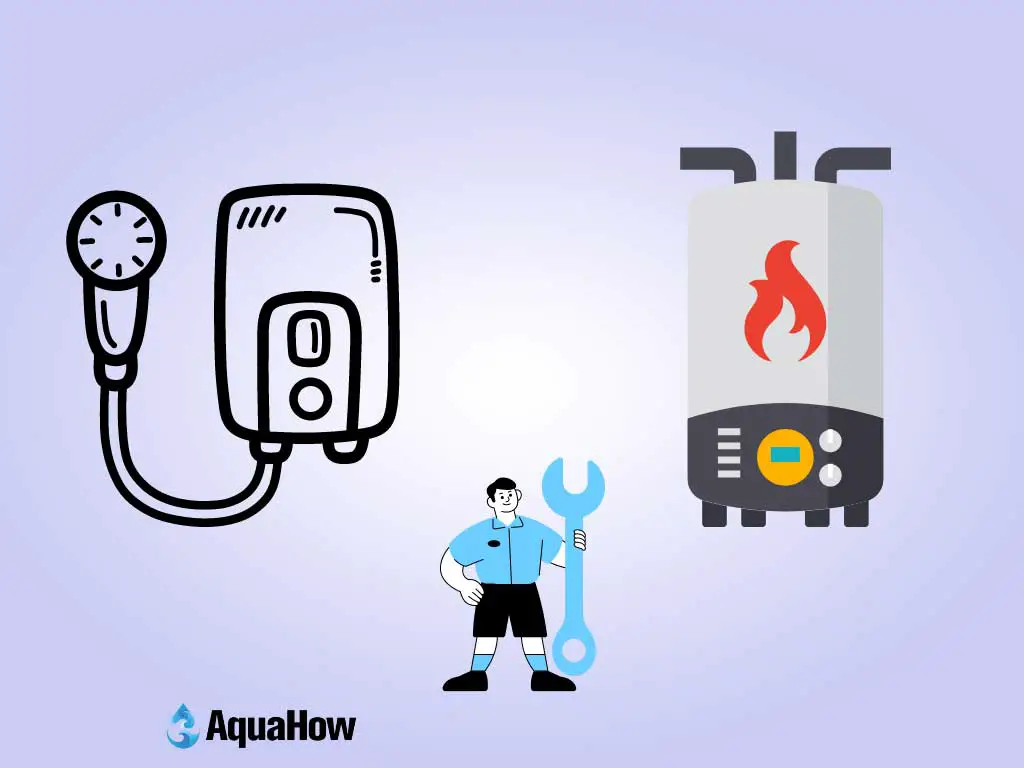
The main advantage of installing a separate water heater to a boiler is producing hot water efficiently.
Also, it will decrease the wear and tear of the heating boiler. The boiler will last longer.
But installing a water heater to your boiler in the right way is the key to getting a successful result.
The followings are the steps to add a water heater to a boiler.
Step 01: Shut Down the Main Water Line
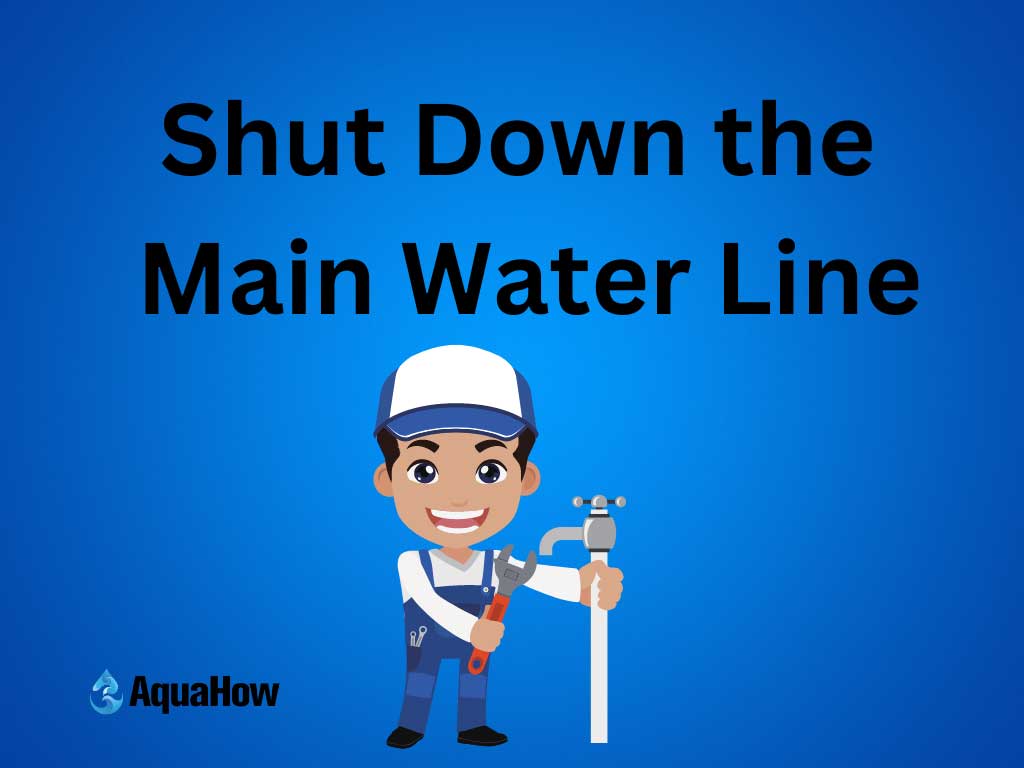
Switch off the primary current switch connected to the heating boiler and the main water line connected to the heating boiler.
Step 02: Drain the Remaining Water
Grab a compact water pump and a hose to get off the remaining water from the boiler.
Attach them to the boiler’s water draw inner valve carefully.
You can keep the drained water in a wide, deep sink or any laundry sink.
Or, directly add the water in your backyard or garden through the hose.
Step 03: Drain the Remaining Water
Select a convenient area to tap into the heating boiler and make a connection between the water heater and the boiler.
Make sure to use the heat exchanger coil to connect it.
Grab flat and rugged shims and place them under the water line.
It prevents the lower section of the boiler from touching the ground.
Step 04: Run Copper Pipe and Create A Connection
Run a 1-inch copper pipe from the heating boiler to your heat exchanger coil input
Don’t forget to keep a shut-off valve at the opening section of the impulse line.
Place a Y-strainer behind the shut-off valve to remove unwanted particles.
Choose compatible and correct-sized fittings and other plumbing items to create a secure connection.
Step 05: Solder the Copper Pipe
Use a plumber’s abrasive or emery cloth on all the connections.
It ensures better cleaning, polishing, and deburring of the copper pipe.
Now, solder both sections of copper pipes with a compatible solder and Propane (LPG) torch.
Step 06: Create a Connection for the Heating Exchanger Coil
Locate the heating boiler draw-off valve and separate the connection.
Both the draw-off valve and heat exchanger coil will receive a return from this input.
Run a 1-inch copper pipe from the heating exchanger coil to the input of the boiler.
Ensure to keep the circulating centrifugal pump, canister purge valve, shut-off ball valve, and on/off purge valve second stage in a sequence.
Solder both sections of copper pipes with a compatible solder and Propane (LPG) torch.
Step 07: Create a Connection for the Cold Water Input
Locate the primary water supply area directly connected to the heating boiler and separate the connection using a tube cutter.
Run a 1/2-inch copper pipe from the primary water line to the cold water input from the base section of the water heater.
Choose compatible and correct-sized fittings and other plumbing items to create a secure connection.
Make sure to use a Pipe tee fitting to create a reconnection for the boiler.
Don’t forget to include an extra pipe to make a connection with the thermostatic mixing valve.
Step 08: Create a Connection for the Primary Hot Water Feed
Locate the primary hot water feed directly connected to the heating boiler and separate the connection using a tube cutter.
Run a 1/2-inch copper pipe from the external upper area of the water heater.
Make sure to use a TMV valve and a pressure relief valve.
Connect these valves hot water feed that goes directly inside your house.
Solder both sections of copper pipes with a compatible solder and Propane (LPG) torch.
Step 09: Install a Temperature Sensor and an Electronic Relay

Install a temperature sensor on the water heater to measure the hydration heat precisely.
Also, add an electronic relay to the heating boiler for quicker operation and better control.
Run an electrical connection from the temperature sensor to the electronic relay already connected to the heating boiler and circulating pump.
Step 10: Restart the Heating Boiler

Switch on the primary power source connected to the heating boiler.
Turn on the main water supply line connected to the heating boil.
If any unwanted air comes from the system, use purge valves to prevent it.
Place a water container to hold excessive water.
Wait for a while until the weather heater tank is refilled and heated up.
Last Words
A successful connection between a hot water heater and a heating boiler can help you enjoy consistent hot water without pressuring the boiler too much. Make sure to follow each step carefully to set up the entire procedure.
Reference
1. Labidi, M., Eynard, J., Faugeroux, O. and Grieu, S., 2017. A new strategy based on power demand forecasting for the management of multi-energy district boilers equipped with hot water tanks. Applied Thermal Engineering, 113, pp.1366-1380.
